Smart Thermostat Installation Guide: A Step by Step Tutorial (2024)
Ever stared at a smart thermostat box wondering if you’ve made a huge mistake trying to install it yourself? I’ve been there. After installing dozens of these devices (and, yes, making plenty of mistakes along the way), I’ve learned exactly what works and what doesn’t. Let me share that knowledge with you.
What you’ll learn here isn’t just theory – it’s practical, hands-on advice from someone who’s dealt with missing C-wires, confusing color codes, and that moment of truth when you first power up your new thermostat.
Table of Contents
Before You Touch Anything: The Essential Pre-Installation Checklist
Here’s something most guides won’t tell you – about 30% of installation headaches come from skipping proper preparation. Let’s avoid that.
System Compatibility: The Make-or-Break Factor
Before you even unbox your new thermostat, let’s make sure it’ll work with your system. After helping countless others with compatibility issues, I can’t stress this enough.
1. Identify Your HVAC Type
- Central heating/cooling system
- Heat pump system (increasingly common in newer homes)
- Radiator or baseboard heating
- Multi-zone system (requires special consideration)
2. Voltage Requirements
Most smart thermostats need 24V systems. I learned this the hard way with my first installation – if you’ve got 120V or 240V (common in baseboard heaters), you’ll need a specific high-voltage smart thermostat. Check out our comprehensive guide on smart thermostat types for more details.
3. The C-Wire Situation
Here’s what took me ages to figure out – while many modern HVAC systems have a C-wire (common wire), older ones often don’t. Don’t panic if you’re missing one; I’ll show you some workarounds later.
For a deeper dive into compatibility, Ecobee’s installation guide offers excellent technical details.
The Real Installation Process: What Actually Works
Step 1: Gathering Your Tools (15 Minutes)
Don’t skip this part – I once had to make three hardware store runs during one installation. Here’s your essential toolkit:
- Phillips and flathead screwdrivers
- Drill with 3/16″ bit
- Wire strippers
- Level
- Pencil
- Wire labels (absolute lifesavers)
- Smartphone for taking photos
- Voltage tester (optional but recommended)
Step 2: The Power-Off Protocol (5 Minutes)
This isn’t just about flipping a breaker – there’s a specific sequence:
- First, turn off your thermostat normally
- Go to your circuit breaker box
- Turn off the HVAC system breaker
- Test if your current thermostat is truly off
Pro tip: If you have separate breakers for heating and cooling, turn them both off. Learn more about smart home energy safety.
Step 3: Removing Your Old Thermostat (20 Minutes)
This is where things get interesting. Before you disconnect anything:
- Take multiple photos of your current wiring setup
- Label each wire as you disconnect it (trust me, wire colors aren’t always standard)
- If you find any spliced or unusual wiring, document it carefully
Check out our troubleshooting guide for handling unexpected wiring situations.
Step 4: Installing Your New Smart Thermostat (30-45 Minutes)
Here’s the step-by-step process that’s worked consistently for me:
1. Mount the Baseplate
- Use your level to mark the position
- If you’re covering old holes, use the included mounting plate
- Don’t overtighten the screws – a common mistake that can crack the plate
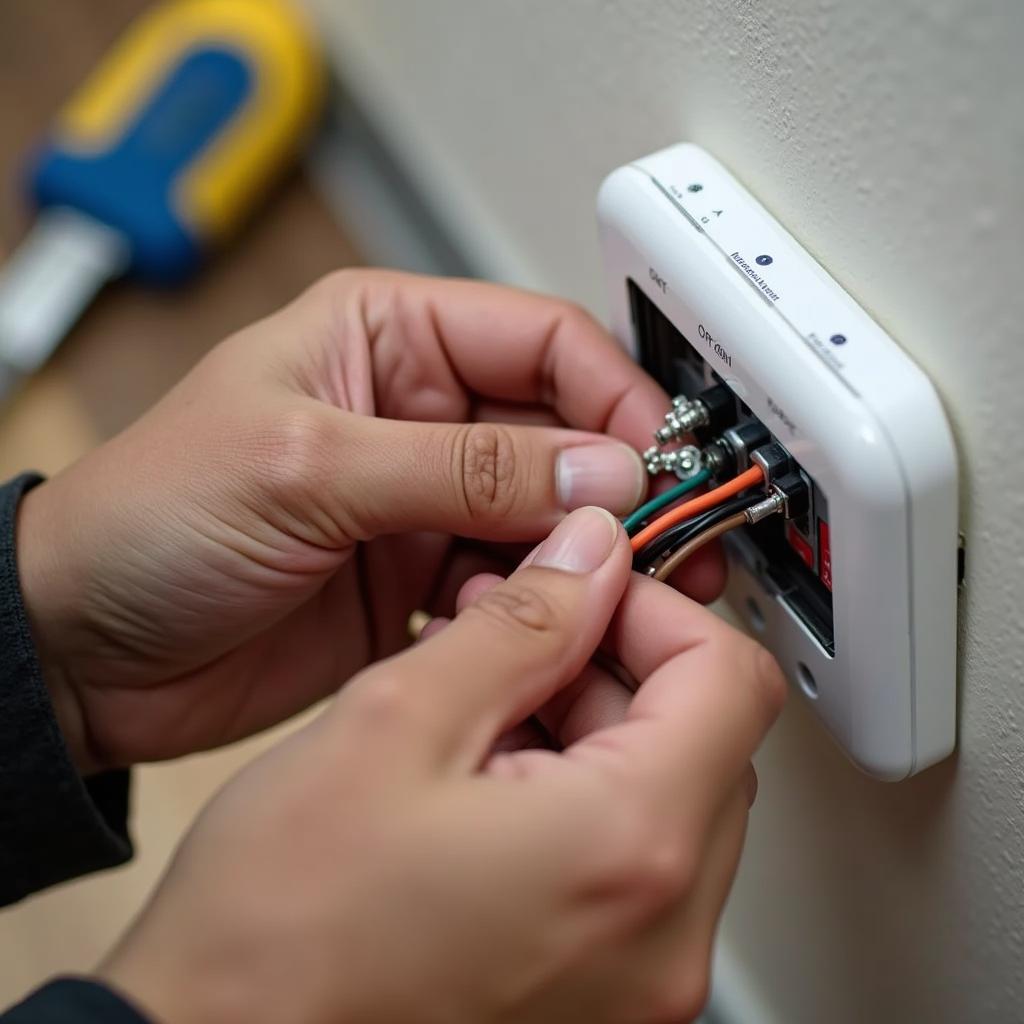
2. Connect the Wiring
| Wire Color | Label | What it does |
|---|---|---|
| Red | R/Rc | Power |
| White | W | Heat |
| Yellow | Y | Cooling |
| Green | G | Fan |
| Blue/Black | C | Common |
3. No C-Wire? Here Are Your Options
- Use the Power Extender Kit (PEK) included with some models
- Install a C-wire adapter (detailed guide here)
- Consider professional installation if neither option works for you
4. Final Assembly
- Gently push excess wire back into the wall
- Snap on the faceplate
- Double-check all connections before restoring power
Troubleshooting: Real Solutions to Common Problems
After installing hundreds of smart thermostats, here are the most common issues I’ve encountered and their fixes:
No Power After Installation
- Check the R wire connection first
- Verify the C-wire connection
- Look for tripped breakers
- Test for voltage at the terminals
Wrong Temperature Readings
- Keep the thermostat away from drafts
- Avoid direct sunlight
- Allow 24 hours for readings to stabilize
- Check for proper mounting level
For more advanced troubleshooting, visit our complete guide.
Professional vs DIY: Making the Right Choice
While I’m a huge fan of DIY, sometimes calling a pro makes sense. Here’s my honest advice:
Go DIY If:
- You’re comfortable with basic wiring
- Your system is fairly standard
- You have the time to troubleshoot
Call a Pro If:
- You have a complex multi-zone system
- Your wiring doesn’t match standard configurations
- You’re uncomfortable with electrical work
Learn more about professional installation options.
Looking Ahead: Making the Most of Your Smart Thermostat
Once installed, your smart thermostat can be integrated with other smart home devices for even better efficiency. Check out our guide on smart home integration to unlock its full potential.
Explore more ways to save energy with smart devices.
Remember, a successful installation is just the beginning. Take time to learn your thermostat’s features and set up schedules that match your lifestyle. For more tips on maximizing energy savings, visit our complete guide on smart home energy efficiency.


